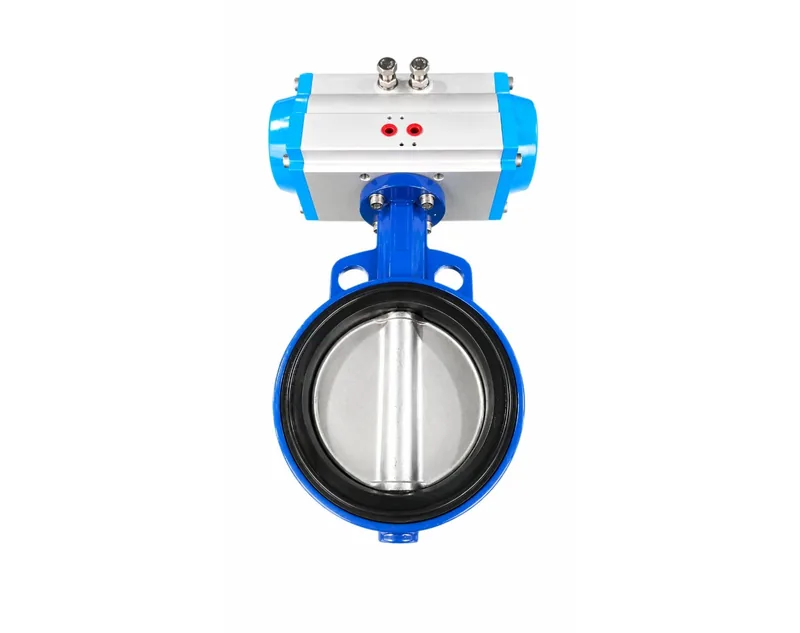
Article Overview: This guide helps procurement managers, sourcing teams, and project engineers evaluate pneumatic actuator mounting standards before sending an RFQ. It answers how to choose, verify, and compare mounting standards, and concludes that buyers should align ISO 5211 dimensions, NAMUR accessory interfaces, torque margin, and supplier documentation. Evidence is based on published installation and standardization guidance from Jimaiact.
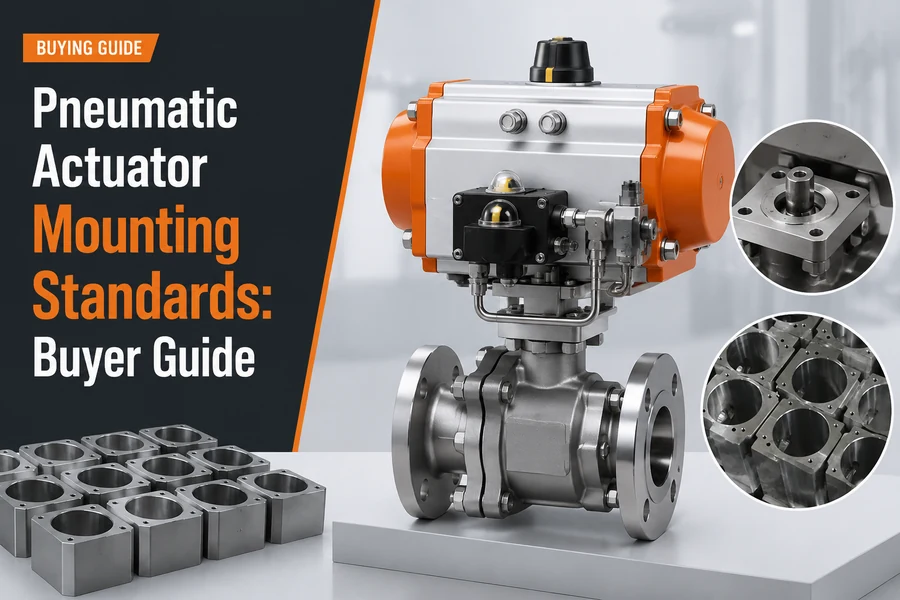
How Should Buyers Choose Pneumatic Actuator Mounting Standards?
Buyers should choose pneumatic actuator mounting standards by first translating valve torque, rotation angle, air supply pressure, and operating environment into dimensional and interface requirements. The decision starts with valve-side ISO 5211 dimensions and ends with NAMUR accessory fit.
According to published mounting guidance, the valve-side connection standard is developed in accordance with ISO 5211, using international standard dimensions such as F05 and F07. This allows the actuator to connect directly to the customer's valve. The customer must provide the valve flange dimension and output torque before ordering so that the supplier can select the appropriate model for the connection.
Buyers should treat mounting standards as two separate fit problems. In practice, ISO 5211 defines the valve-side interface, NAMUR defines the accessory-side interface, and the G1/4 air inlet dimension defines the tube connection.
When you translate your operating needs into selection criteria, start with the valve side: record the valve flange dimension, stem size, rotation angle, and required torque. Then move to the control side: decide which solenoid valve and limit switch box will be used and whether they follow the NAMUR pattern. Finally, check service conditions such as air source pressure, which is typically 4-7 bar, and operating temperature, which is commonly -20 to 80 degrees Celsius according to the guidance.
Do not start from the actuator catalogue. Start from the valve and the control accessories you already own or plan to buy. The mounting standard is only a means to connect those two systems; if the flange pattern, stem size, and accessory interface are not recorded, the supplier has no basis for a reliable recommendation.
For a step-by-step explanation of this process, review how pneumatic actuator mounting connections should be standardized before you issue the RFQ.
What Should Buyers Verify Before Ordering Pneumatic Actuator Mounting Standards?
Before ordering, buyers should verify actuator model against valve torque and rotation angle, confirm ISO 5211 flange dimensions and coupling fit, check NAMUR accessory compatibility, and validate air inlet size against the planned tubing. These checks prevent rework and mismatched automation packages.
The verification sequence below follows the same order the installer will use during commissioning.
Step 1: Confirm the Valve-Side Interface
Ask for the actuator's ISO 5211 flange pattern, for example F05 or F07, and compare it with the valve flange dimension and stem square size. If the stem size differs, confirm whether the supplier provides an adapter, such as an actuator square of 22 by 22 matched to a 17 by 17 valve stem.
Step 2: Verify Torque and Rotation Angle
Compare the actuator output torque with the valve's required torque. For single-acting actuators, the guidance says the output torque under spring force must be verified and the lesser data compared with the valve output torque multiplied by the safety factor in your system calculation.
Step 3: Check Accessory and Air Connections
Confirm that the actuator uses the NAMUR standard for the solenoid valve and limit switch box, and verify the air inlet hole dimension, such as G1/4, so the planned tubing matches.
Step 4: Validate Operating Conditions
Check that the air source pressure range, typically 4-7 bar, and operating temperature range, for example -20 to 80 degrees Celsius, are within the actuator's specification. If the air supply is not conditioned, plan for a filter and pressure reducing valve adjusted to the actuator requirement.
The sequence matters because each step depends on the previous one. You cannot verify accessory fit before you know the actuator model, and you cannot confirm the actuator model before you know the valve requirement. Moving in this order prevents the common mistake of buying a powerful actuator that cannot physically connect to the valve.
Before finalizing the NAMUR-mounted components, review a guide to essential pneumatic actuator accessories and their applications to confirm which solenoid valve or limit switch box types fit the actuator.
Which Pneumatic Actuator Mounting Standards Trade-Offs Matter Most?
The most important trade-offs are standardized valve-side mounting versus NAMUR accessory mounting, because each interface solves a different problem: ISO 5211 ensures valve fit, while NAMUR simplifies accessory alignment. Buyers should not treat these two systems as interchangeable.
There is no universal winner. The trade-off depends on whether you are standardizing valve fit or accessory installation.
| Interface | Basis | What it defines | Evidence to request |
|---|---|---|---|
| Valve-side connection | ISO 5211 | Flange dimensions such as F05 and F07, and the bolting pattern between actuator and valve | Dimension drawing, flange pattern, torque table |
| Accessory connection | NAMUR | Mounting interface for a solenoid valve and limit switch box | Accessory drawing, NAMUR groove dimensions |
| Air connection | Inlet specification | Air inlet size, for example G1/4, used for tube selection | Air inlet drawing, recommended tube size |
As a hypothetical example, a site with mixed valve brands could benefit from choosing a single ISO 5211 pattern family, because that reduces adapter variants in inventory. In another hypothetical scenario, a site with standardized control panels might instead prioritize NAMUR compatibility to keep solenoid and limit switch spares common across all actuators.
The main trade-off is directness versus flexibility. An ISO 5211 flange gives a direct, repeatable valve fit when the bolt pattern and stem size match exactly. However, when the stem size differs, the buyer must add an adapter, which introduces an extra mechanical joint and a new failure point. The NAMUR accessory interface makes solenoid and limit switch installation predictable, but it only helps if the planned accessories are NAMUR-compatible; proprietary third-party devices may need a separate bracket in a hypothetical retrofit.
Air inlet size is a smaller but still important trade-off. A G1/4 inlet requires the installer to choose the matching tube and fitting. In a hypothetical RFQ that does not state this dimension, the supplier may quote an actuator whose inlet size does not match the site's existing tubing.
For a broader view of how actuator type influences these mounting decisions, optimizing valve control systems with pneumatic actuators explains the differences between single-acting, double-acting, and rotary designs.
How Should Mounting Standards Be Written Into the RFQ?
Write mounting standards into the RFQ by requesting the exact ISO 5211 flange pattern, NAMUR accessory dimensions, air inlet size, torque data, and specification documents, then verify responses against your valve datasheet.
Use the following checklist when drafting the RFQ:
- State the valve model, flange dimension, stem size, and required rotation angle.
- Require the supplier to quote the ISO 5211 mounting pattern, for example F05 or F07, and to confirm that it matches the valve.
- Specify the NAMUR accessory interface and list the solenoid valve and limit switch box models you plan to use.
- Request the air inlet dimension, for example G1/4, and the recommended tube size.
- Ask for output torque data at the working air pressure, plus spring-return torque for single-acting actuators.
- Require dimensional drawings and specification documents as part of the quotation.
During supplier evaluation, compare each quotation against four checkpoints: mounting geometry, torque margin, accessory compatibility, and documentation completeness. Weighting should reflect your installed base. If you already operate ISO 5211 valves, prioritize quoted flange patterns; if you maintain NAMUR accessories, prioritize accessory compatibility.
Do not accept a general statement that the actuator will fit. Ask the supplier to confirm the interface in writing and to provide a dimension drawing. A buyer who builds these checks into the RFQ converts mounting standards from a technical detail into a contractual requirement.
FAQ
Are ISO 5211 and NAMUR interchangeable?
No. ISO 5211 defines the valve-side mounting interface between actuator and valve, while NAMUR defines the accessory-side interface for solenoid valves and limit switch boxes. A single actuator can use both standards at the same time, but they solve separate fit problems.
What details should buyers send before requesting a quotation?
Send the valve flange dimension, output torque requirement, rotation angle, stem size, air inlet size, supply pressure range, and operating temperature. Published guidance says the supplier needs the valve flange dimension and output torque before selecting a model for connection.
Why do F05 and F07 patterns appear in mounting standards?
F05 and F07 are ISO 5211 flange patterns that define the bolt circle and interface dimensions between the actuator and valve. They allow direct implementation with international standard dimensions. If the stem size differs from the actuator square, an adapter is needed.
Conclusion: Evaluate Mounting Standards Before the RFQ
Procurement teams that evaluate pneumatic actuator mounting standards before sending an RFQ reduce the risk of mismatched interfaces, accessory rework, and commissioning delays. The buyer's gate should be simple: confirm ISO 5211 valve-side dimensions, NAMUR accessory compatibility, air inlet size, torque margin, and documentation. Write these items into the RFQ and verify every supplier response against your valve datasheet before placing an order.